Go to your Webflow project and navigate to the page you want to use the particles effect.

Add this code snippet before your page's </body> tags.
You can set up the properties of your particles by yourself. Visit http://vincentgarreau.com/particles.js/, play with the settings, download the json file and copy the settings to the code above.
This code also states that particles with these settings will be shown on element, that will have id "particles-js". You can change this also, but don't forget to alter your element accordingly!
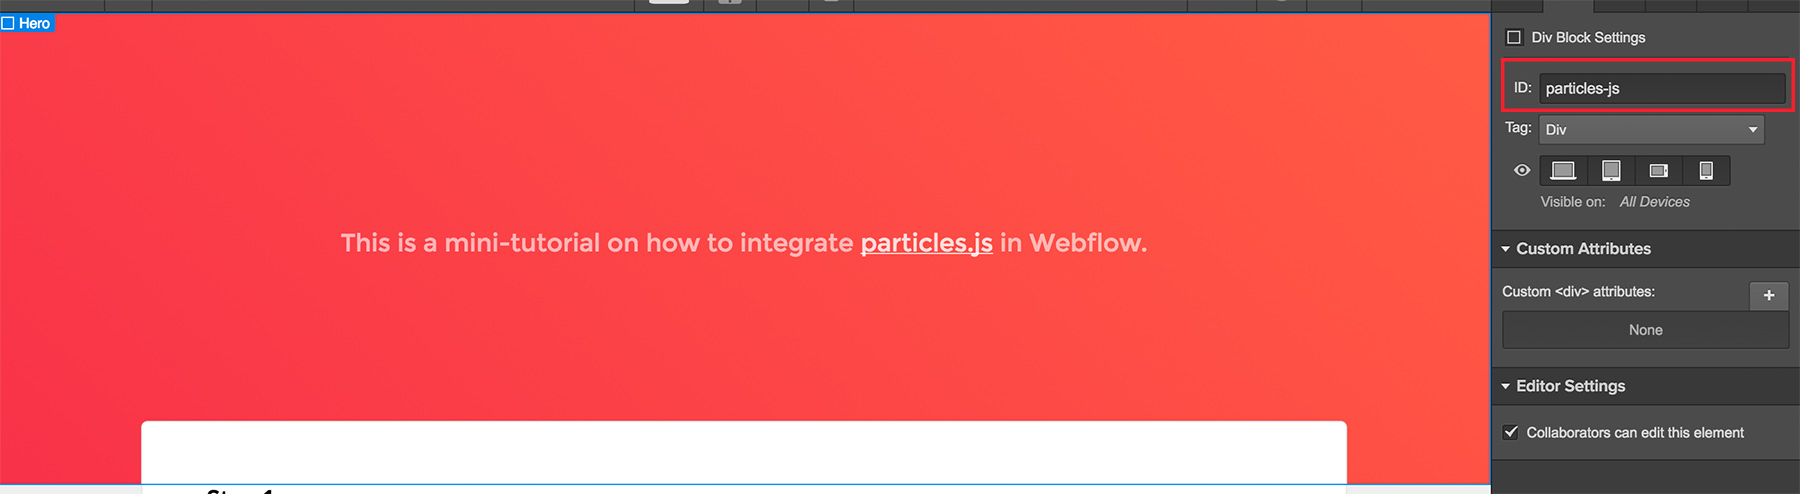
Now add div wherever you want the particles to appear. You want to create a overlay div, that covers all the area. Display "block", position "absolute" and "top left". Set width to 100% and height to pixel size of the element it covers - in this example 370px. Add and add ID "particles-js" as shown below. Note: you can also just add this ID to any element you already have in your project.
Publish your site. Now you have interactive particles that can move constantly, react to mouse pointer and with clicking you can add other particles, all based on setting from Step 1. Be amused!
